How to shift the Hosting of a WordPress Website?
I still remember the day when I first shifted the hosting of my website; I was so tensed that I can not even write them in words. I would not be able to sleep for around three nights. Today one of my friend asked me the same question which I asked to so many people, that how can I shift the hosting of my blog without losing the content. I explained him the process and then he told me why not you blog the topic so that other people can also get the help.
So here we go. Mind it that I am explaining the process for a site or blog which is actually running on the script of http://wordpress.org/ and which is actually hosted on Linux server. As far as I know WordPress can only be installed on Linux server.
As you all know that for static sites it is quite easy to shift the hosting. You can purchase the new hosting from any website and you can simply copy and paste the files of your website. But in case of blogs or dynamic websites it becomes tougher to change the server.
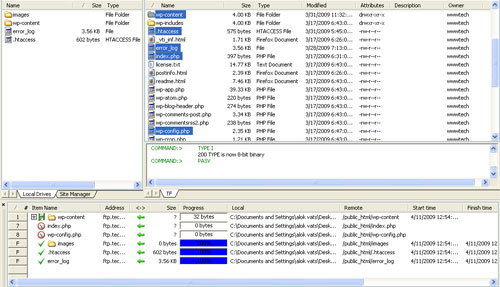
First thing first, you need the back up of your website. First of all open the ftp of your website, through any ftp software. I use Cuteftp so I will recommend others to use the same. Go the public_html folder of your website, and then take the back up of wp-content folder. This folder actually stores all of your data.
Other than wp-content folder you need the back up of .htaccess, index.php and wp-config.php files of your website. You are also required to take the back up of all the log files too like error_log etc. You can also take the back up of the images folder if you have some images on that.
Once you have taken the back up of your files from server, you need to keep these files in at least 2 or 3 different places. You can take it either on any CD, or in Pen Drive or in any storage device. Also try to save it in two different drives of your hard disk. It will insure that in case of any unavoidable circumstances we can have the back up with us.
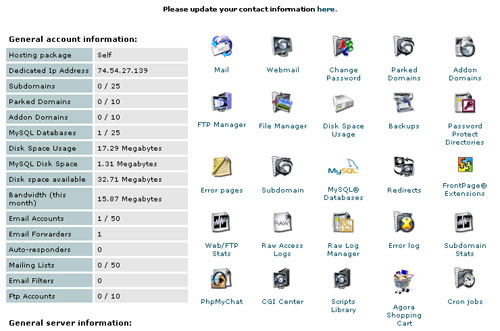
The next step is to take the back up of your database. For this open the cpanel of your website, you will get something like this:
Now open the MySQL® Databases, and you can get the database detail of your website, from here you will have to open the phpMyAdmin section. You will get something like this:
Now on the left hand side you will get the name of the database for which you were looking for, click on that database. You will get a look like this:
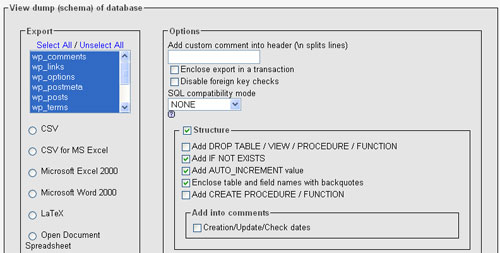
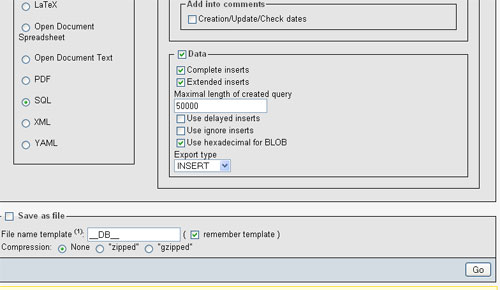
Now you can be able to see the Export tab at the top, click on that and a new display will open. Here make sure that all the Tables of your database are selected. Make sure that Save as file option were clicked, then click on go and your database structure will be copied to your system. Save it in the same way as you saved the back up of your website.
Once this is done you are now prepare to shift the hosting. Now the next step is to change the nameserver of your website which you can do from the domain management panel of your web domain. Remember that changing the nameserver will take around 24 to 72 hours. So be patient unless your new hosting is generated.
Once this is done, you can now install the wordpress blog on it. Download the latest version of the WordPress from wordpress.org and upload the same to the public_html folder of your new server. Once this is done, replace the folder wp-content and the files like index.php, wp-config.php etc. with the saved one (which you have taken as the back up from your previous hosting). Once this is done visit the cpanel of your website and go to the MySQL® Databases. Create the database, and user for this database. Also make sure that this user has All Privileges for this database.
Once this is done once again go to the phpMyAdmin section. Click on the database name which you have just now created, and then click on the import tab. Now you can browse the database which you have saved earlier, and you are done.
You can be able to see the same website. Remember one thing, this process is not so easy, so please don’t try to do it for fun, only in case of any emergency try to shift your server.


Great point and very interesting food for thought. I’m not sure I have any clients I can replicate this with, but will bear in mind for the future. Regards